
Blister Pack Case Study
*Note: This case study is not an actual evaluation performed for a customer. Instead, we drew on various pharmaceutical/medical applications CCS has previously solved.
About the Application
Blister packs are a common form of pharmaceutical packaging. But images can get interference from glare caused by reflective packaging materials or the pill's 3D structure.
If a customer wants to use vision systems to read lot codes and inspect for damage, they can request a free lighting evaluation to determine
If it is feasible to perform all the requested inspection tasks
The lighting setup that will consistently get the most reliable image
Our evaluations start with a customer sharing their application parameters in our application evaluation form.
Here is what a typical evaluation form we receive from customers looks like:
| Please describe your part |
A variety of blister packages, roughly 4"X5". |
| Does the part appearance vary? | Some have a matte white back others have foil packaging |
| What features need to be detected? | Right number, right color, not broken, confirm lot number and expiration date, package integrity |
| Camera Model | 2 MP |
| Camera Type | Monochrome |
| Speed of the part? |
NA |
| Desired exposure time or shutter speed | NA |
| Lens Model | |
| How is the part presented to the camera? |
Both sides of the package will be presented to the camera at different points in the manufacturing line. |
| Field of View (FOV) | Roughy 5"X5" |
| Min. AND Max. Working Distance |
No restrictions |
| Can a back light be used? | No |
| How large can the light be without causing interference? | No restrictions |
| Other Useful Information | Clean environment, no washdown |
Some limitations with the information provided:
Missing specifics: For example, the form does not mention important details like the different shapes, sizes, and colors of the pills.
Blank fields: We can assume that means there are no constraints, but it is better to verify.
The more detail customers provide, the more accurately we can recreate their application environment. If important details are missing, we risk proposing a solution that actually doesn't work in their system. We would have a meeting with the customer to confirm any unclear information before starting the evaluation.
The Challenge
Sometimes machines will manufacture the same type of product for different brands. Depending on the maker and type of medicine, the blister packs can have pills of different sizes and colors. In this case, some use foil on the front side, while others have matte paper, etc.
When dealing with samples that vary in appearance, the challenge is finding a solution that can accommodate the differences in material, color, reflectivity, and texture. Since each characteristic can significantly affect how light interacts with the object, finding a one-size-fits-all solution is often complex.
This application has six inspection tasks. Inspecting for multiple types of information on a sample can create more challenges because diverse inspection criteria need to be met simultaneously. Each type of information, such as dimensions, color, surface defects, or specific features, may require different lighting techniques, camera angles, or image processing algorithms.
For example, the lighting setup ideal for one inspection task could inadvertently obscure or alter the features needed for another task. A vision system that can reliably perform all inspections on each sample may be unfeasible in a single station.
3 Key Challenges
Multiple samples
Multiple inspections
Camera resolution too low
Finally, the evaluation form specifies using a 2 MP camera, but the lot numbers on a lot of these packages are quite small—most of them are about 2 mm in height. You want at least 30 pixels in the longest direction to read the text accurately. If testing indicates that more pixels are needed to see the defects clearly, or if the engineer suspects that is the case, they will recommend a higher camera resolution.
In this application, we did find the resolution was too low. Calculations determined that the application required at least 2284 pixels. And since a 2 MP camera does not reach 2284 pixels, the engineer switched to a 5 MP camera, which typically has a resolution of 2592 by 2048.
The Solution
At a high level, each evaluation has five phases: review the workpiece samples provided, recreate the application setup, test whether to use bright field or dark field illumination, test for the exact form factor to use, and then finally the wavelength to use.
Here’s how the Application Engineer went through this process for this particular application:
Step 1: Review all samples
We go through the samples we've received from the customer and determine which are the good ones, which are the bad ones, how are they categorized, and where are the defects. The more samples we have to test, the better we can evaluate the accuracy of the system for judging good vs. bad, as well as barely good vs. barely bad.
“The more samples we have to test, the better we can evaluate the accuracy of the system for judging good vs. bad, as well as barely good vs. barely bad.”
The samples provided are decent in that there is a large variety of them. There are multiple types with foil packaging on the front AND types with matte paper. We can easily test for a light that can get a uniform image of both.
The drawback is that there aren't many defective samples. For example, some types do not have broken pills in their sample. So there is no way to confirm if the contrast is good enough for the vision system to detect a broken pill or not.
If a certain defect is application-critical, we need samples with variations of that defect to make sure that the solution can detect it and not just assume it should work.
Step 2: Recreate the application setup
As mentioned before, the engineer switched to a 5 MP camera to get a resolution high enough to read the lot codes. The application did not have any restrictions on the working distance or light working distance, so we can use any lens that gets the necessary FOV.
If you do not have the exact lens or camera needed on hand, there are a few possible substitutions:
If your camera is too big: modify the resolution of the camera that you need it to be.
If you don’t have the exact focal length lens: adjust the working distance to the right FOV, but make sure the light working distance doesn't interfere with what would be the actual working distance.
Otherwise, you need to borrow the specific lens model from the customer or the manufacturer.
Here our engineer starts with a 5 MP camera and a 35 mm lens. The FOV measures about 5 inches. The largest sample is confirmed to fit within the FOV, but there is not a lot of tolerance, so the customer will have to make sure that there is enough control on the machine to ensure the workpiece will always fall within the FOV.
Step 3: Test bright field vs. dark field
To test whether bright field or dark field works better for an application, we like to start with a white HPR2 ring light because it works at both high and low angles. (If you don't know the difference between bright field vs. dark field, watch this).
For samples with printed text on matte paper, we know right away not to use dark field because we want to read the text. However, one sample has an embossed code, which tends to need dark field illumination. This means there’s a good chance we can’t read all the lot codes in one inspection. The engineer can confirm this after determining the form factor in the next phase.
Although the ring light confirms that bright field will work to read printed codes, the samples with foil packaging do not get an even image. The contrast of the lot and date code could also be better. Knowing we need bright field but that direct illumination causes glare on the foil packaging, we move on to finding which form factor creates a more even, flat image.
Step 4: Determine form factor
From here, we circle between trying different form factors and wavelengths.
We recommend starting with your most difficult sample because if a form factor works, it likely works with the rest. The "hardest" sample in this application is a blister pack with rounded foil wrapping.
“We recommend starting with your most difficult sample because if a form factor works, it likely works with the rest.”
Our Application Engineer starts testing different form factors on the front side of the sample.
Here are the form factors we end up trying:
The go-to light for removing 3D texture is a dome light. Although it gets a flat image of the sample, it is not a sustainable solution because the camera hole in the dome light creates a shadow in the image.
This problem can be solved with the LFXV. It acts like a dome light, but the camera looks through the light itself instead of through a hole in the light. At a 20 mm LWD, the flat dome gets an even image of our most difficult sample.
Once we have the solution for the hardest sample, we can start checking if it works for the rest. The flat dome gets good images of defects, but a different wavelength could improve the solution's overall reliability if there is damage in the same place as the dark print. (This can be confirmed in the next evaluation phase.) However, the sample with the embossed code does not get enough contrast to see it reliably, so we need to find another solution for this type of code.
Watch an engineer talk through the process of testing which form factor works on the embossed code:
Testing shows that two different stages will be needed if the customer wants to perform all the inspection tasks for all the samples. The embossed code needs a dedicated stage with an HPR2, while all other samples can be inspected with an LFXV. Trying these two form factors on the pill side, the LFXV is the solution for both types of samples.
Step 5: Determine wavelength
After determining form factor, the engineer can test if different wavelengths can increase contrast to improve the reliability of the image.
We start with testing infrared because it can remove print in some situations. But to "solve" this application, IR would have to remove the text while still keeping the lot codes visible. We find that an 850 nm light cannot do this on the relevant samples, and for some, it does not even remove the printed text. So we turn to the visible spectrum.
To test if a monochromatic wavelength can improve the contrast, we need to test different colors of the form factor we chose. If you don't have red, green, and blue versions of the form factor you need, we recommend using a white version with different filters. Fortunately, we had a full-color version of an older flat dome light in our lab.
Pro tip: Different LEDs have different intensities. Don't confuse an image that looks better because it uses the right color with an image that looks "better" because it happens to be brighter. If your imaging software tells you the grayscale value, pick a gray section in the image and get as close to 200 as possible so all images have the same intensity.
“If your imaging software tells you the grayscale value, pick a gray section in the image and get as close to 200 as possible so all images have the same intensity.”
This is the most time-consuming part of testing because we need to image every color with most, if not all, of the samples.
Overall, white light gets the best results across all the samples on both the front side and pill side. And will be the most flexible if new sample variations are added later.
The Result
The total time for the evaluation process depends on the application and the number of active evaluations at a given time. Our engineers can typically provide a solution within two weeks after receiving the sample.
This application evaluation, performed in about three hours, determined the following about the best lighting solution:
Switch from 2 MP to 5 MP camera for clear OCR character reading
The inspections on the front side require two stations
For blister packs with printed codes: LFXV-200SW
For blister packs with embossed codes: HPR2-200SW centered over the code, not the whole sample.
A third inspection stage is needed for the pill side inspections: it can use the same LFXV-200SW as the front side but needs a color camera.
Our engineers summarize the test results in an evaluation report. They include details about the specific lights, components, and configuration they used to get the best image (see example here).

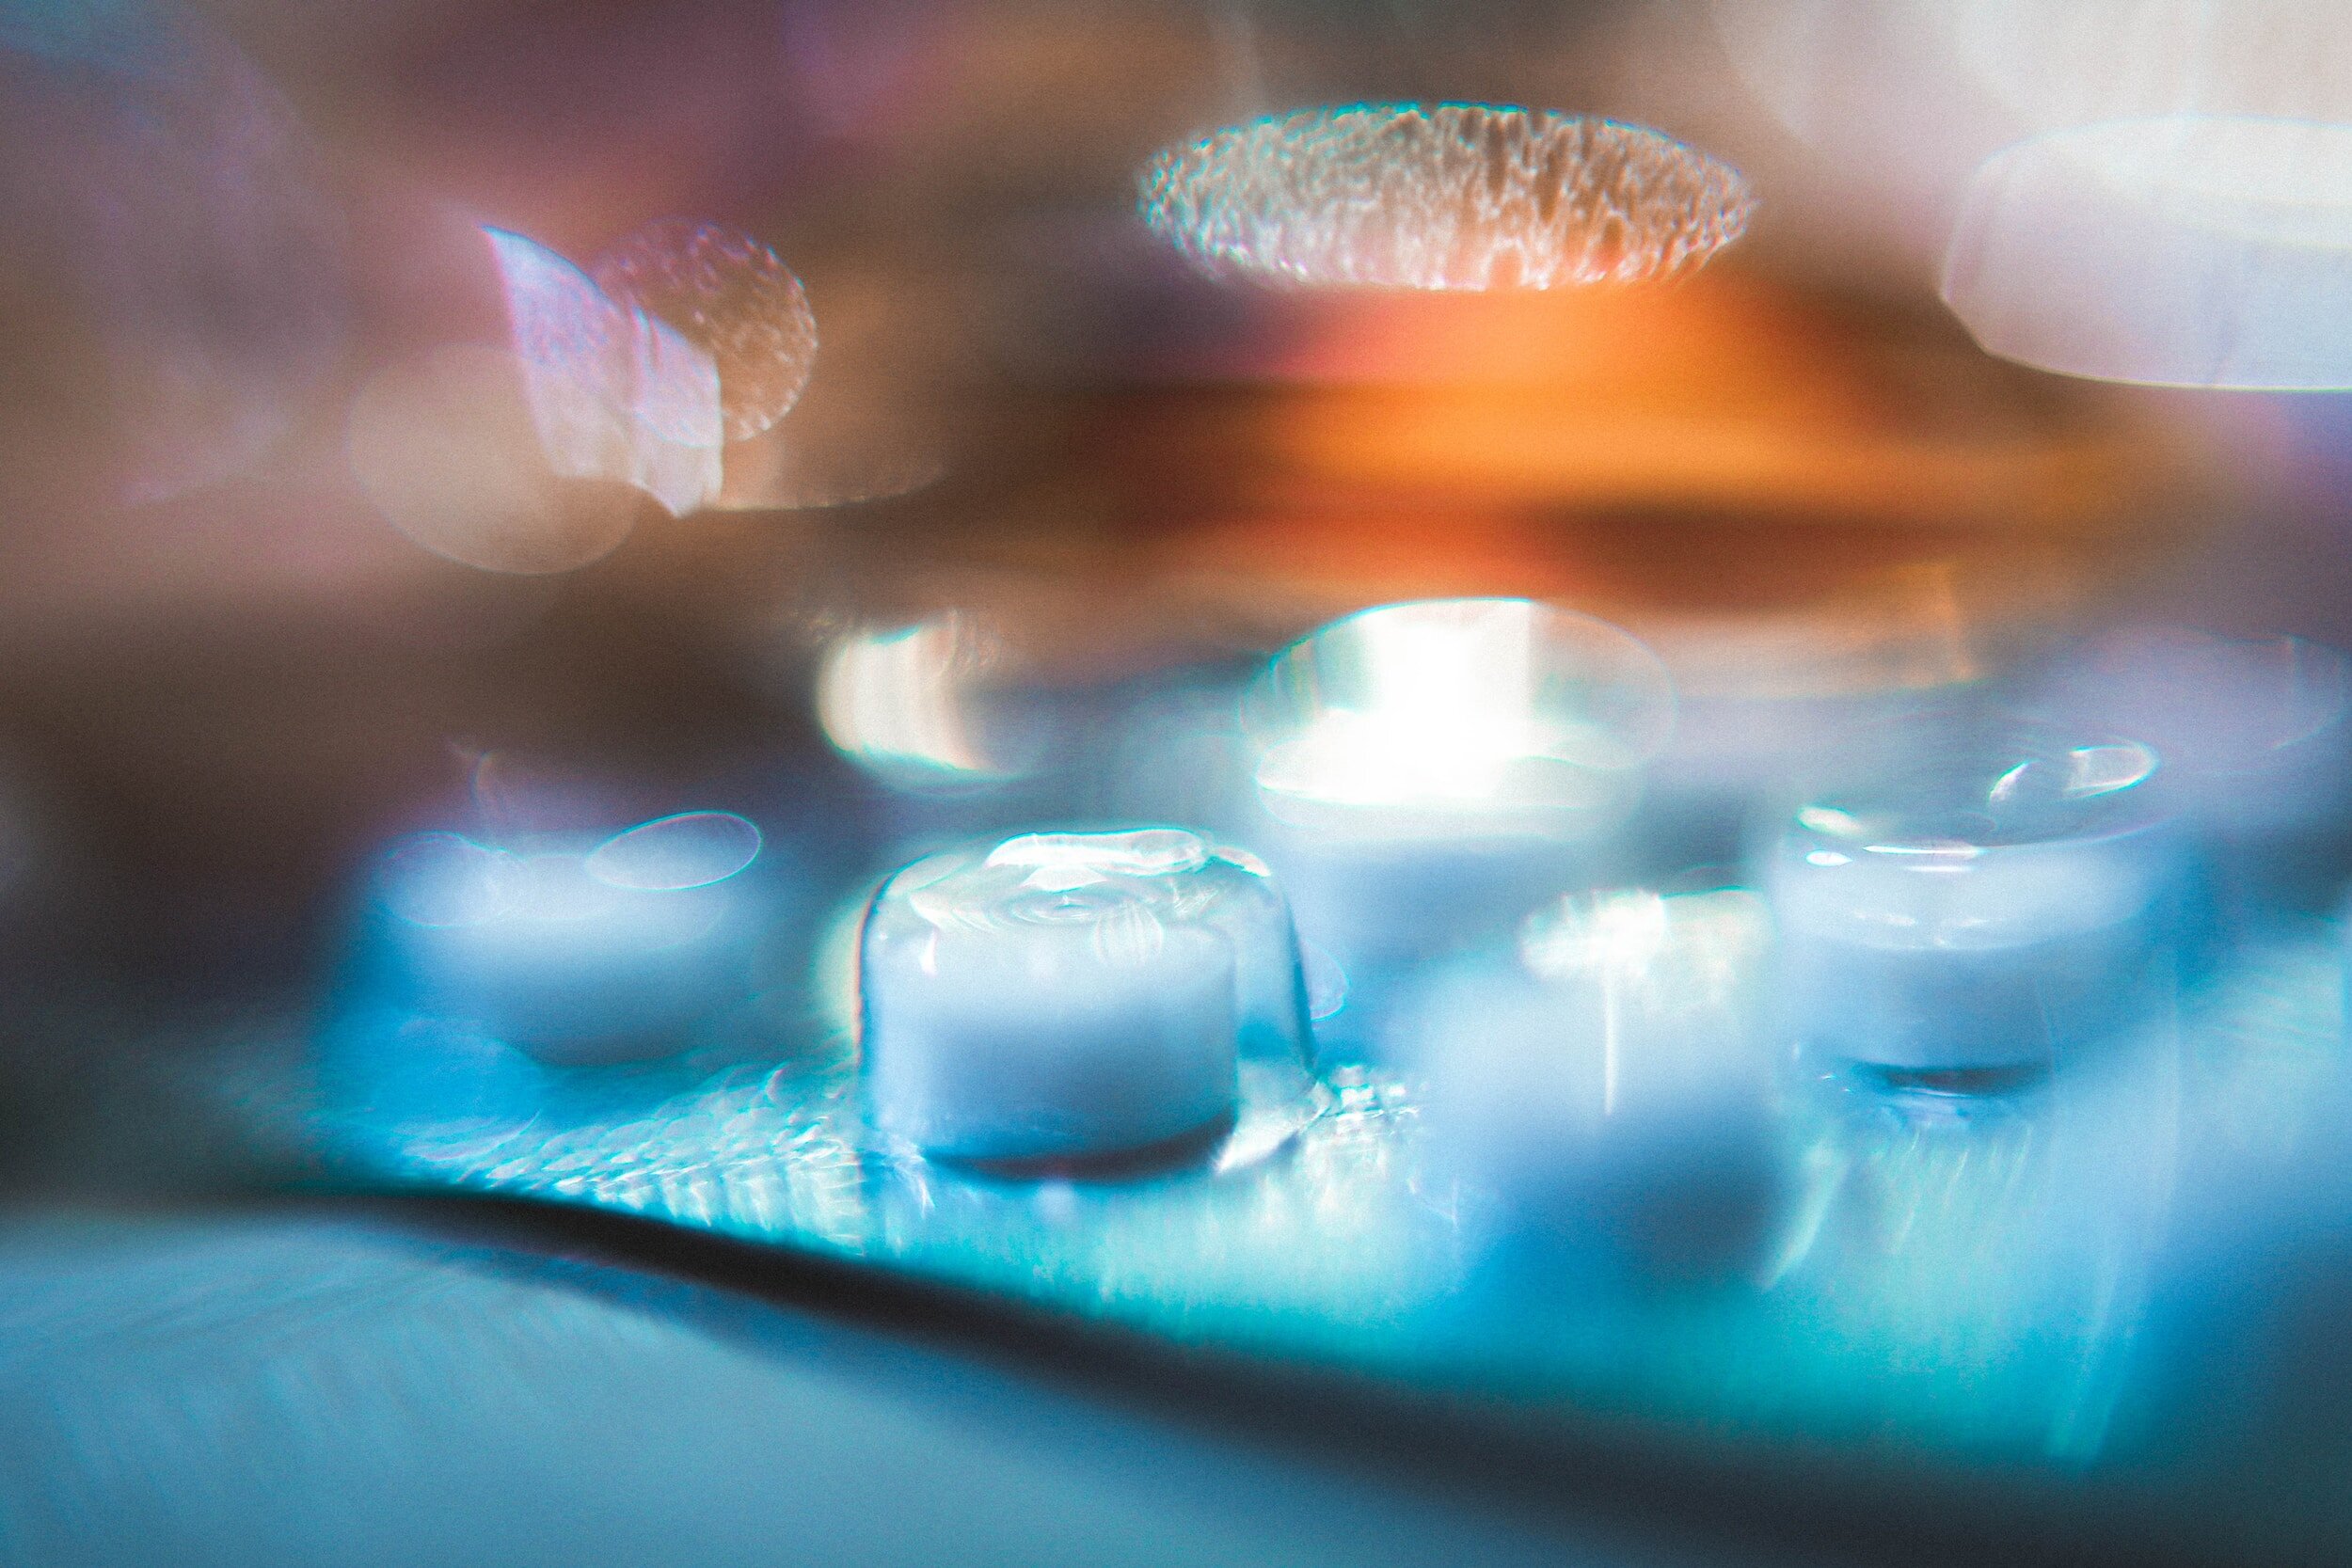
Sample image from the report comparing different form factors tested to solve the application. These reports help prove out lighting needs and concepts. Customers can use the results to determine feasibility, whether to adjust the project scope, and ultimately build a more accurate vision system.
No application is the same. No challenge is the same.
So no solution is the same.
These light models won’t necessarily solve another blister pack application. We always recommend testing yourself or getting an evaluation done for your application’s unique needs.